
Polished Concrete Overlays and Veneers Adelaide
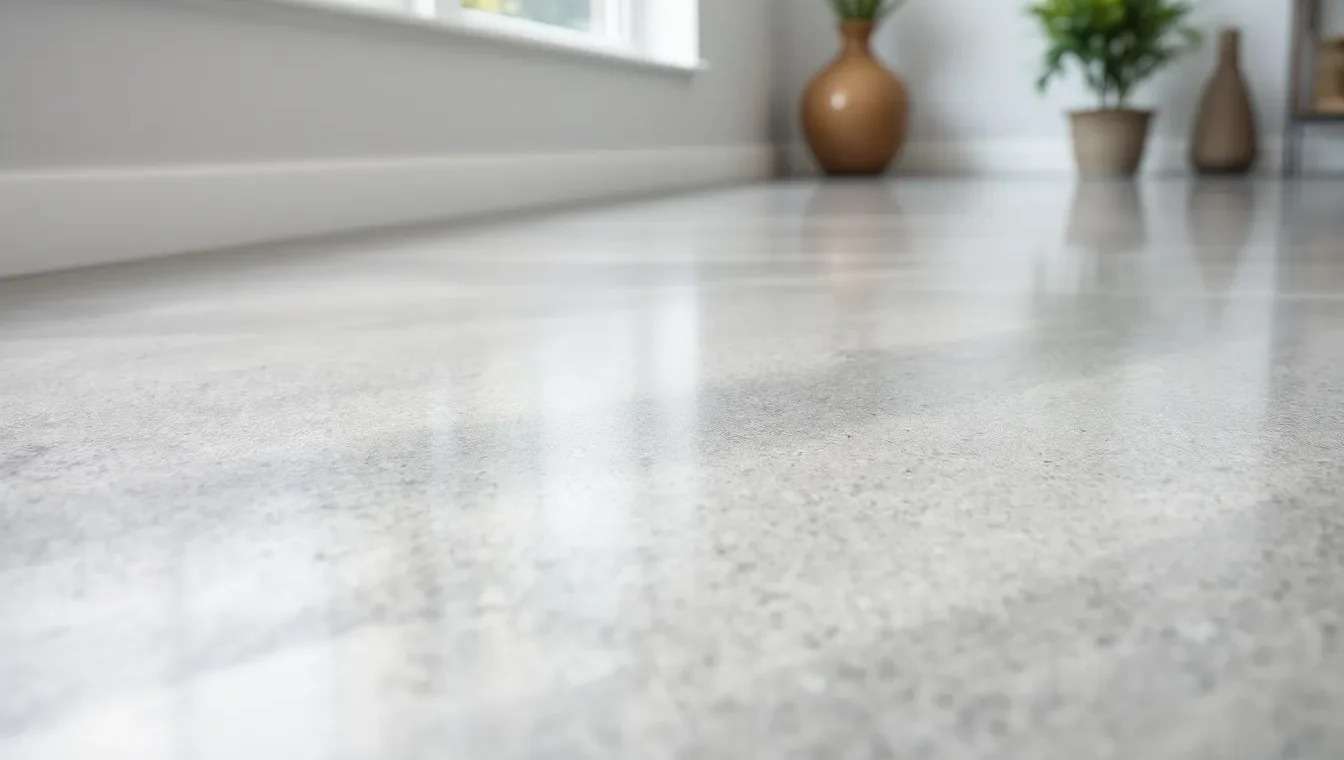
Want polished concrete, but your existing floor can’t give it to you? We install polished concrete overlays and veneers across Adelaide. A new layer of polishable concrete goes over your existing slab or tiles, then it’s ground and polished to show real stone, just like a new pour.
- Goes Over Concrete or Tiles
- Finish Real Stone, Polished
- Use Indoor & Outdoor
Overlays and veneers solve the same problem: getting a real polished concrete floor when the floor you have won’t polish.
You’ll hear both terms used, and in practice they mean much the same thing. A thin layer of polishable concrete, containing real stone aggregate, is poured over an existing floor. Once it’s cured, it’s ground and polished with the same diamond process as a mechanical polish.
The difference from a coating or a concrete micro topping is the stone. Because the mix contains real aggregate, grinding exposes it the way it would in a new slab. You get genuine polished concrete, not a surface made to look like it.
Overlay and Veneer Specification
- Poured over existing concrete slabs or tiles
- Real stone, ground to your chosen exposure
- Finished in matte, satin or gloss
- Suitable for indoor, undercover and outdoor areas
- Seamless, with no grout lines
Why Choose a Polished Concrete Overlay or Veneer
Here’s what an overlay or veneer gives you that your existing floor can’t.
No demolition
Skip the noise, dust and disposal of breaking out a slab or ripping up tiles.
Real polished concrete
Real stone, ground and polished. It’s not paint, print or a coating.
Seamless
One continuous floor from room to room, with no grout lines to scrub.
Your choice of finish
From a subtle fleck of stone to full exposure, in matte, satin or gloss.
Inside and out
Suitable for living areas, undercover alfresco spaces and outdoor areas.
Renewable
If the sheen dulls in busy areas over the years, it can be re-polished rather than replaced.
What’s Under Your Floor Now?
How we approach the job depends on what we’re going over.
Going over an existing concrete slab
This is usually called an overlay. It’s the right fix when your slab is sound but won’t polish up well:
- It’s cracked, patched or heavily repaired, and grinding would show every mark
- Old flooring has left glue stains, tack strip holes or paint that won’t grind out cleanly
- You’ve extended the house, and the new and old slabs won’t match once polished
- The builder’s slab was poured with plain stone that doesn’t polish nicely
Going over tiles in a renovation
This is usually called a veneer. It’s the way to get polished concrete in an existing home without pulling up the tiles. Before we start, we check:
- Drummy tiles. Tiles that sound hollow when tapped must be removed or re-fixed first, because the new floor is only as solid as what’s under it
- Wet areas. Bathrooms and laundries need correct falls to the waste and sound waterproofing, so we’ll tell you honestly whether a space suits
- Timber floors. We install over concrete and tiles only. For timber, a micro topping is the option to look at
Overlay, Micro Topping or Polishing Your Existing Slab?
Not every floor needs an overlay, and it’s worth checking before you spend the money.
| Option | Goes over | Added height | Real stone exposure | Best for |
|---|---|---|---|---|
| Overlay or veneer | Concrete slabs or tiles | A thin layer | Yes | Damaged or plain slabs, extensions, renovations over tiles |
| Micro topping | Concrete, tiles or timber | From 3mm | Limited | Tight floor heights, a uniform look |
| Polish existing slab | — | None | Yes, your slab’s own stone | Sound slabs you’re happy with |
If your slab is sound and you’re happy with its stone, mechanical polish or grind and seal on the existing concrete will cost less. If the only problem is old adhesive, floor glue removal may be enough to get the slab back to polishable concrete. For outdoor areas, finishing the overlay matte, like a honed concrete surface, gives better grip underfoot when wet.
Things to Plan For
An overlay or veneer raises your floor level slightly, so a little planning upfront avoids surprises.
- Doors. Internal doors may need trimming to clear the new floor.
- Transitions. Where the new floor meets carpet, timber or tiles, we’ll plan a clean edge or trim.
- Skirtings and joinery. It’s often easiest to install the floor before new skirting boards. Decide early whether kitchen cabinets go in before or after the floor, and we’ll help you plan the order.
- Existing cracks. Many Adelaide suburbs sit on reactive clay that moves with the seasons. We repair existing cracks before pouring, though cracks caused by ongoing structural movement can still reappear through any new surface.
- Larger areas. Big open spaces may need joints to manage movement. We’ll talk you through where they’d sit.
How We Install an Overlay or Veneer
-
01
Assess
We check cracks, levels and the condition of the slab, and tap-test any tiles.
-
02
Prepare
We grind off coatings, adhesive and contamination, repair cracks, and prime the surface so the new layer bonds.
-
03
Pour
The overlay mix is poured and levelled across the area.
-
04
Cure
It’s left to harden before grinding begins.
-
05
Grind and polish
Progressive diamond grinding exposes the stone to your chosen level, then the floor is honed and polished.
-
06
Seal
The floor is densified and sealed to protect the surface.
Living With Your New Floor
Day-to-day care is simple: sweep or vacuum, then mop with a pH-neutral cleaner.
The one thing to know is that acidic spills like wine, vinegar and citrus juice can dull a cement-based surface if left to sit, so wipe them up promptly. The sealer buys you time, but it’s not a reason to leave them overnight.
If the sheen dulls in high-traffic spots after a few years, the floor can be re-polished to bring it back, without replacing anything.
What affects the cost
Every job is quoted after we’ve seen the floor, because the price mostly depends on:
- Area. Open-plan spaces are more efficient than lots of small rooms
- What’s underneath. Crack repairs, drummy tiles, old coatings or glue add preparation
- Finish. Full stone exposure and high gloss take more grinding stages
- Access. Upper floors and tight sites take longer
When comparing against new tiles, include what you’re not paying for: tile removal, disposal and screed repairs.
Overlay and Veneer FAQs
What’s the difference between an overlay and a veneer?
Very little. Both are a thin layer of polishable concrete over an existing floor. “Overlay” usually refers to going over concrete, and “veneer” to going over tiles.
Is it real concrete?
Yes. It’s a cement-based mix with real stone, ground and polished the same way as a slab.
Can it go over timber floorboards?
No. We install overlays and veneers over concrete and tiles only. For timber floors, a concrete micro topping is the better option.
Can it be used outside?
Yes. Overlays suit undercover and outdoor areas as well as interiors. Outdoors, a matte finish gives better grip when wet.
Will it crack?
Any concrete can develop fine cracks if the structure underneath moves. We repair existing cracks before pouring, which reduces the risk, but can’t stop movement in the slab below.
How long does it take?
It runs over several days to allow for preparation, the pour, curing and grinding. We’ll give you a timeframe in writing with your quote.
Other Options Worth Considering
Concrete Micro Toppings
A high-strength overlay from 3mm over existing concrete, tiles or timber, polished or sealed to finish.
View Concrete Micro Toppings →Mechanical Polish
Diamond ground and polished through progressive grits, sealed with a penetrating sealer for a hard, glossy floor.
View Mechanical Polish →Not Sure Which Fits?
Send us a few photos and details about the space and we’ll recommend the finish that suits it.
Ask Polished SA →Talk To Us About a Polished Concrete Overlay or Veneer in Adelaide
We’ll assess the space and quote the finish, sealer and timeframe in writing.
Get A Quote